
Instant Pot Not Sealing? 8 Checks, Easiest First
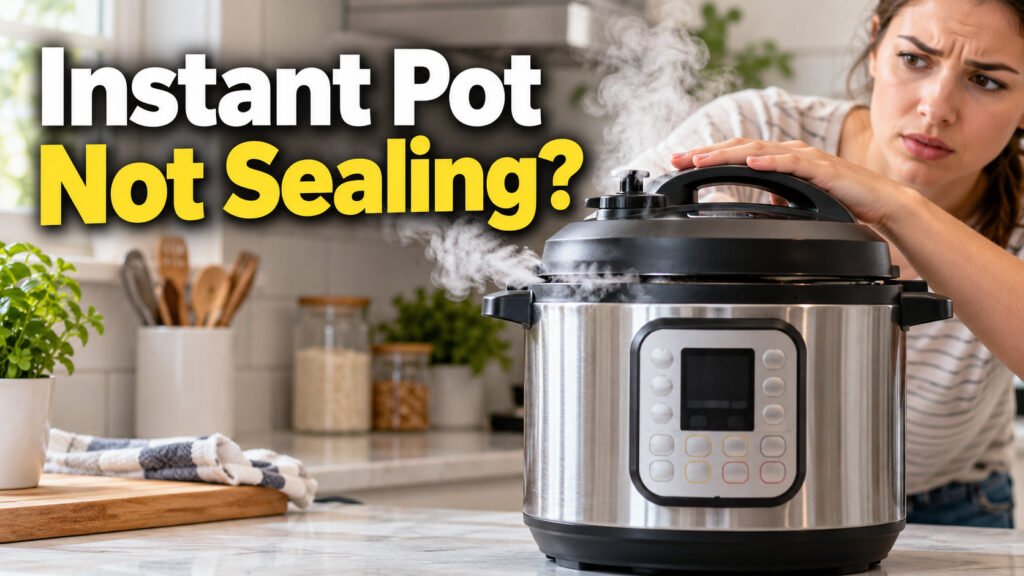
Your Instant Pot has been showing On for ages, steam keeps hissing out, and the float valve never pops up. That means it isn’t sealing, so it can’t build pressure. The cause is almost always something you can see and fix in a minute or two: the steam release left on Venting, a sealing ring that isn’t seated, or a bit of food on a valve. This guide works through eight checks from easiest to hardest, so you can stop as soon as it seals again. None of them need tools.
Every step follows Instant Pot’s own manuals for the Duo, and applies to most electric Instant Pot models. Where the parts differ between models, each check says so. For other problems, see all our pressure cooker fixes.
Before you start: Press Cancel and let the pot vent before you touch the lid. Set the steam release to Venting, keeping your hands and face away from the top of the valve, and wait until the float valve drops. The lid stays locked until it does. Never force the lid, and never push the float valve down while there is still pressure inside. If you’ve been cooking, unplug the pot and let it cool before you take any parts off.
The 8 checks at a glance
- Is it really not sealing?
- Set the steam release to Sealing
- Close and lock the lid properly
- Check the sealing ring is in and seated
- Clean or replace the sealing ring
- Clean the float valve and its seal
- Add enough liquid
- Clear the anti-block shield and steam release
After each check, close the lid, set the steam release to Sealing and try again. To test without wasting food, do a water test the way Instant Pot suggests for new pots: about 3 cups of water, lid locked, Steam for a few minutes. If the float valve pops up and the display starts counting down, you’re done. If not, cancel, let it vent, and move on to the next check.
Check 1: Is it really not sealing?
A bit of hissing at the start is normal. While the pot heats up, steam escapes from the float valve until there’s enough pressure to push the valve up and seal the pot (Instant Pot). Heating up also takes longer than many people expect. The current Duo guide says reaching pressure can take 10 to 15 minutes, and longer with frozen food (Instant Pot). A full pot can take longer still.
It’s a sealing problem if:
- steam keeps pouring from the side of the lid or the steam release long after the pot has heated up;
- steam is still coming from the float valve after more than 2 minutes, and the valve hasn’t risen;
- the display shows noPr, which means the pot didn’t reach working pressure while it was preheating (Instant Pot).
Where the steam comes out tells you where to look. From the side of the lid, go to Checks 3 to 5. From the float valve, go to Check 6. From the steam release, start with Check 2.
Check 2: Set the steam release to Sealing
This is the most common slip, especially if you used a quick release last time. Depending on your model, the steam release is a handle you turn, a switch you slide or a button you press. Set it to Sealing before you start any pressure cooking program.
On models with a handle, the handle sits loosely on its valve and wobbles when you touch it. That’s how it’s designed: Instant Pot’s manual explains that it works by weight and simply rests on the valve (Instant Pot). What matters is that it points squarely at Sealing, not halfway between. If you pulled it off to wash it, make sure it’s back in place.
Check 3: Close and lock the lid properly
The lid has to be turned all the way to its locked position. Line up the arrow on the lid with the unlocked symbol on the base, lower the lid, then turn it clockwise until the arrow lines up with the locked symbol (Instant Pot). If the display flashes Lid, the cooker hasn’t detected the lid in the right position for the program you chose.
- Lid hard to close? The sealing ring may not be fitted properly (see Check 4), or the float valve may be stuck in the up position. With the lid off, press the float valve down lightly.
- Lid only partly turned? Instant Pot’s manual says the float valve can be blocked by the lid’s locking pin if the lid isn’t fully closed, so it can’t rise even when there is pressure inside.
Check 4: Check the sealing ring is in and seated
The silicone sealing ring sits in a metal rack on the underside of the lid. Without it, or with it pushed in unevenly, steam escapes round the side of the lid. It’s easy to wash the ring and forget to put it back.
- Turn the lid over and check the ring is there.
- If it’s loose or puckered, press it into the rack section by section, all the way round, until it sits flat. It can go in either way up.
- Make sure the rack sits fully inside the groove on the inside of the ring, all the way round (Instant Pot).
- Test it. A well-seated ring stays in when you turn the lid upside down, and you can slide it round the rack with a bit of effort.
Look at the rack while the ring is out. It should be secure, centred and an even height all round the lid. If the rack is bent, don’t try to straighten it: Instant Pot’s guide says not to repair a deformed rack (Instant Pot). Contact Instant Pot support instead.
Check 5: Clean or replace the sealing ring
A ring that’s dirty, damaged or stretched can’t seal. Take it out and look at it closely.
- Food stuck to it: wash it in warm soapy water, or on the top rack of the dishwasher, then refit it.
- Cracks, cuts or tears: replace it straight away.
- Stretched or out of shape: rings stretch with normal use. If yours sags out of the rack or falls out when you turn the lid over, it needs replacing.
The current Duo guide says to replace the ring every 12 to 18 months, or sooner if you notice stretching, deformation or damage (Instant Pot). Older manuals gave 18 to 24 months. Buy a genuine Instant Pot ring made for your pot’s size: the manuals warn against using rings that aren’t authorised by Instant Pot.
Instant Pot also suggests keeping one ring for sweet dishes and one for savoury, and fitting one at a time. The ring on my own Instant Pot Duo holds on to smells, which is reason enough to keep a spare. A ring that smells still seals, though. Stretching and damage are what stop it.
Check 6: Clean the float valve and its seal
The float valve is the small metal pin on top of the lid, next to the steam release. When the pot reaches pressure, it rises and seals. On the underside of the lid, a small silicone cap holds it in place and seals around it.
If steam leaks from the float valve for more than 2 minutes, Instant Pot points to two causes: food on that silicone seal, or a seal that’s worn out (Instant Pot).
- With the lid off and cool, look at the float valve from both sides. Push it up and down: it should move freely.
- Wash any food off the pin and the silicone cap with warm soapy water. If you take the cap off to clean it, refit it the same way before you use the pot.
- If the silicone cap is torn, flattened or missing, replace it with a genuine Instant Pot part.
Check 7: Add enough liquid
Pressure comes from steam, so the pot needs enough thin liquid to make it. With too little, the float valve can’t rise (Instant Pot). The current Duo guide gives these minimums, unless your recipe says otherwise (Instant Pot):
- 3-quart (2.8 L): 1 cup (250 mL)
- 6-quart (5.7 L): 1½ cups (375 mL)
- 8-quart (7.6 L): 2 cups (500 mL)
Older manuals ask for at least 1 cup in any size, so check yours. The liquid should be water-based, such as water, stock or juice. Thick sauces don’t make steam well, and Instant Pot says to add water when you use condensed or cream-based soup. If you browned food on Sauté first, add a splash of liquid and scrape up anything stuck to the bottom before you pressure cook.
Check 8: Clear the anti-block shield and steam release
On the underside of the lid, the steam release valve is covered by a small metal cap called the anti-block shield. It stops food from blocking the valve. Instant Pot says to check the steam release, float valve and anti-block shield for clogging before every use (Instant Pot).
- Push the anti-block shield sideways and outwards to pop it off.
- Wash it, and clear any food from the steam release pipe underneath it.
- Put it back in position and press it down until it’s secure.
Don’t take apart the steam release handle assembly itself. Blockages usually come from overfilling or foamy food, so keep the pot no more than two-thirds full, and no more than half full for food that expands, such as rice, beans and dried vegetables (Instant Pot).
When to contact Instant Pot support
Stop using the pot and contact Instant Pot support if: steam keeps pouring from the steam release while it’s set to Sealing, which the manual puts down to a pressure control failure; the display shows a C1, C2 or C6 code, which point to faulty sensors; the lid or the sealing ring rack is bent; the cord or plug is damaged or gets hotter than usual; or the pot smells burnt or makes unusual noises. Don’t try to repair the lid, valves or electronics yourself. A pressure cooker that can’t control its pressure isn’t safe to use.
When you get in touch, have the model and serial number from the label on your cooker, a note of which checks you’ve done, and a photo or short video of where the steam escapes. It speeds things up.
Common questions
Is it normal for steam to come out before the Instant Pot seals?
Yes. Steam escapes from the float valve while the pot heats up, until the valve pops up. Once it’s up, you shouldn’t see steam leaking from the lid, though Instant Pot says a small puff from the steam release now and then is normal.
Why is my Instant Pot’s steam release handle loose?
On models with a handle, it’s meant to be loose. It rests on the valve and works by weight. As long as it points to Sealing, it will seal.
How do I get the smell out of the sealing ring?
Instant Pot suggests pressure cooking 1 cup of water with 1 cup of white vinegar for 5 to 10 minutes, then using quick release. Store spare rings somewhere airy. A smelly ring still seals, so you only need to replace it if it’s stretched or damaged.
How often should I replace the sealing ring?
Every 12 to 18 months according to the current Duo guide, or sooner if it’s stretched, cracked or out of shape.
Stuck on a step?
Ask below with your appliance's brand and model number, and we'll help if it's safe to fix at home.